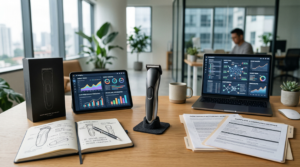
Every successful product, from a smartphone to a high-performance body trimmer, begins not in a massive factory, but as an idea captured in a sketch or a CAD (Computer-Aided Design) file. But how does that digital concept become a physical object you can hold, test, and ultimately, sell? The bridge between a great idea and a successful market launch is the product prototyping process.
For any brand developing a new piece of hardware, this is the most critical and value-intensive phase of the journey. This guide will break down the key prototyping stages for an electronic product like a body trimmer, providing a clear roadmap for your New Product Introduction (NPI) process. Mastering these stages is the difference between a smooth, predictable launch and one plagued by costly delays, unforeseen flaws, and wasted investment.
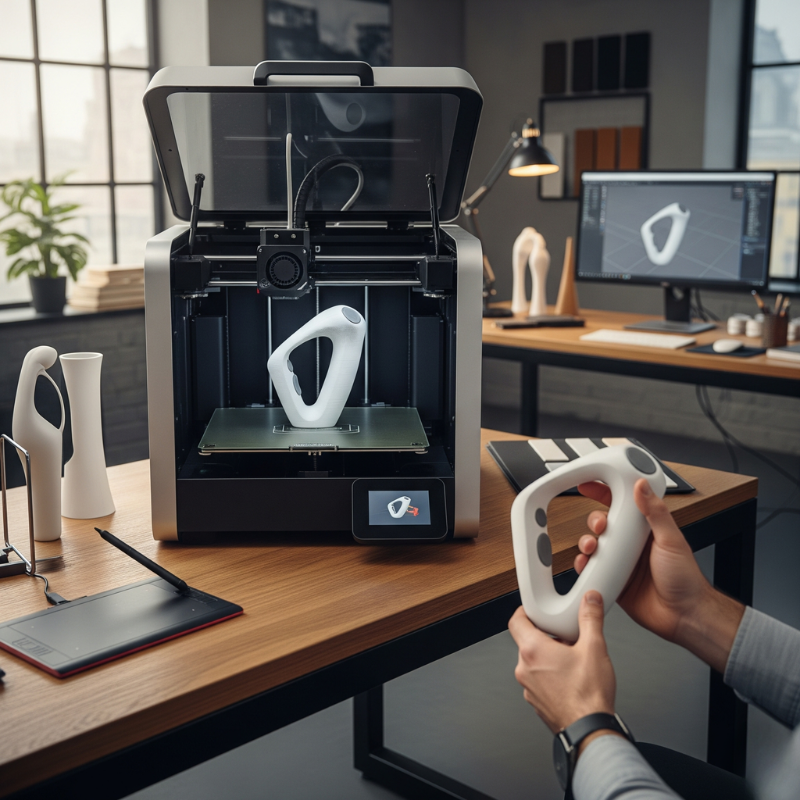
Stage 1: The Visual Prototype (The “Looks-Like” Model)
The first step in the physical journey is to answer a simple question: How does the product look and feel? The goal of this stage is to validate the product’s aesthetics, ergonomics, and physical form factor long before you invest in expensive tooling.
- The Method: 3D Printed Prototype Using industrial-grade 3D printers, your manufacturing partner can turn your
CADfile into a physical, non-functional model in a matter of days. These prototypes are typically made from a resin material and can be sanded and painted to closely mimic the intended look of the final product. - What You Learn at This Stage:
- Ergonomics: How does it feel in your hand? Is the grip comfortable and secure? Is the weight balanced?
- Scale and Form: Is it the right size? Does it look as good on a table as it did on the screen?
- User Interface (UI): Are the buttons in the right place? Is the charging port easily accessible?
- The B2B Insight: This is the cheapest and fastest stage to make major design changes. Don’t be afraid to create multiple iterations. Changing the shape of a 3D-printed model costs very little; changing the shape of a steel production mold can cost tens of thousands of dollars.
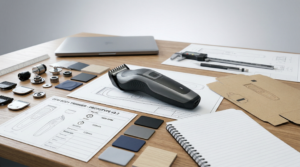
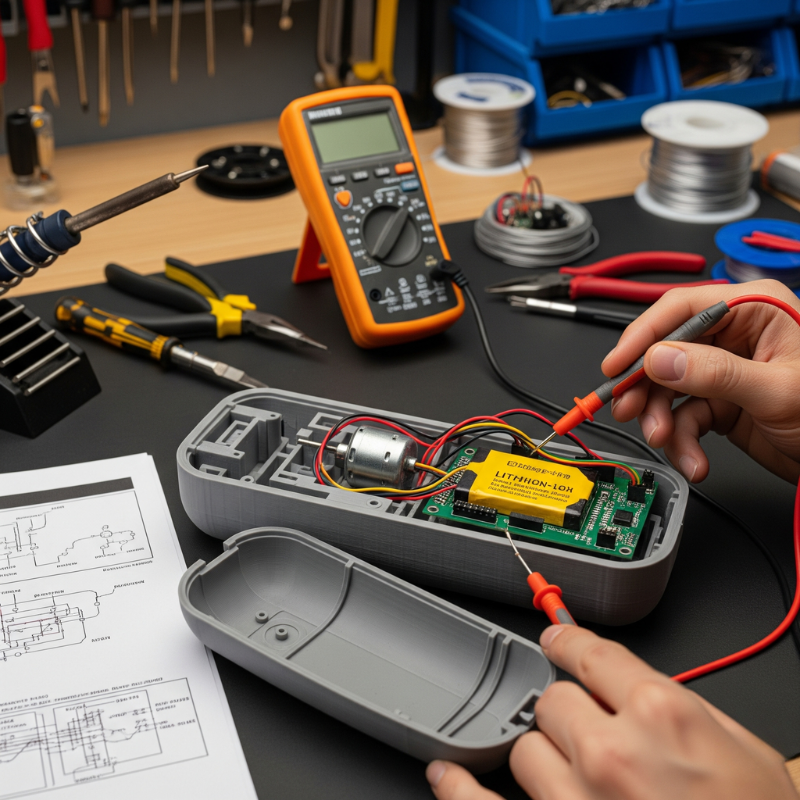
Stage 2: The Functional Prototype (The “Works-Like” Model)
Once you’ve locked in the external design, the next stage is to build a prototype that works. This model, often called a Proof of Concept (POC), doesn’t need to look perfect, but it must perform the core functions of the final product.
- The Method: This is a more hands-on engineering task. It typically involves combining the 3D-printed housing from Stage 1 with custom-wired, off-the-shelf electronic components (like a generic motor and a development-board PCBA) to create a working model.
- What You Learn at This Stage:
- Technical Feasibility: Do all the internal components actually fit inside the housing? Are there any unforeseen issues with heat dissipation or vibration?
- Core Performance: Does the chosen motor provide enough power and torque? Does the proposed battery capacity meet your target runtime?
- Basic Functionality: Can you turn it on, charge it, and make it cut hair?
- The B2B Insight: The functional prototype is all about de-risking the technical side of the project. It’s the stage where your engineering team (or your factory’s team) proves that your product concept is technologically viable before you commit to the high cost of custom electronics and production tooling and molding.
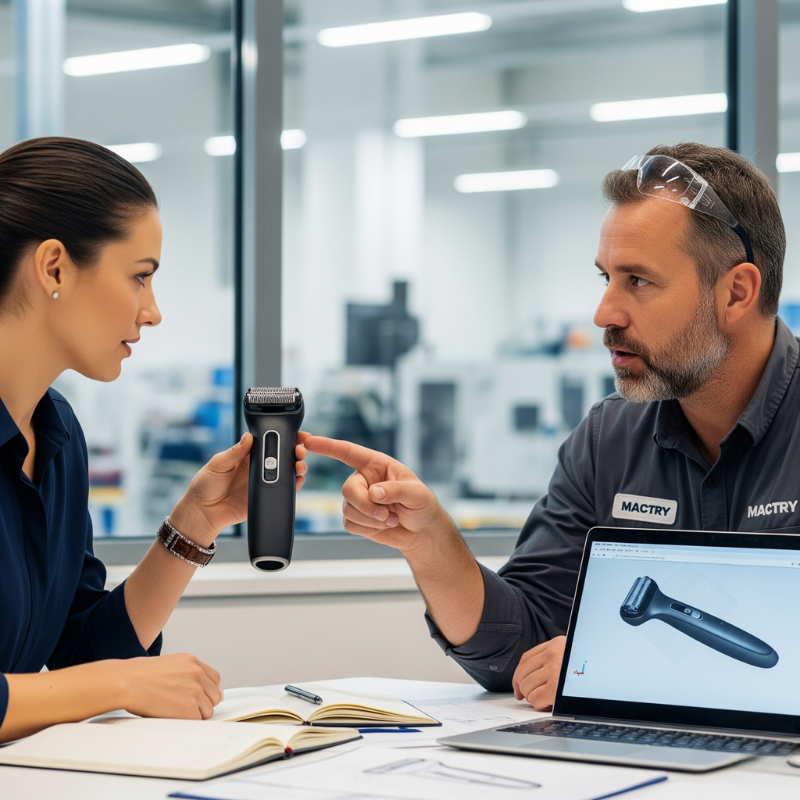
Stage 3: The Pre-Production Prototype (The “Production-Ready” Model)
This is where your product truly starts to come to life. The goal of this stage is to create a small number of prototypes (typically 5-20 units) using the actual materials and manufacturing processes that will be used for mass production.
- The Method: This stage requires the biggest investment: creating the production tooling, primarily the high-pressure steel Injection Mold for the plastic housings. The electronics will
- be the first run of your custom-designed PCBA.
- The Critical Step: Design for Manufacturability (DFM) Before the molds are cut, you will engage in a Design for Manufacturability (DFM) review with your factory’s engineers. This is a crucial collaborative process where small tweaks are made to your design to make it easier, faster, and more reliable to mass-produce. This might include:
- Adjusting wall thicknesses to ensure proper plastic flow.
- Adding slight draft angles so the part ejects from the mold cleanly.
- Optimizing the placement of internal ribs for strength.
- The B2B Insight: A thorough DFM review is a hallmark of a great OEM partner. It shows they are thinking not just about making a few samples, but about how to produce tens of thousands of your product with a low defect rate.
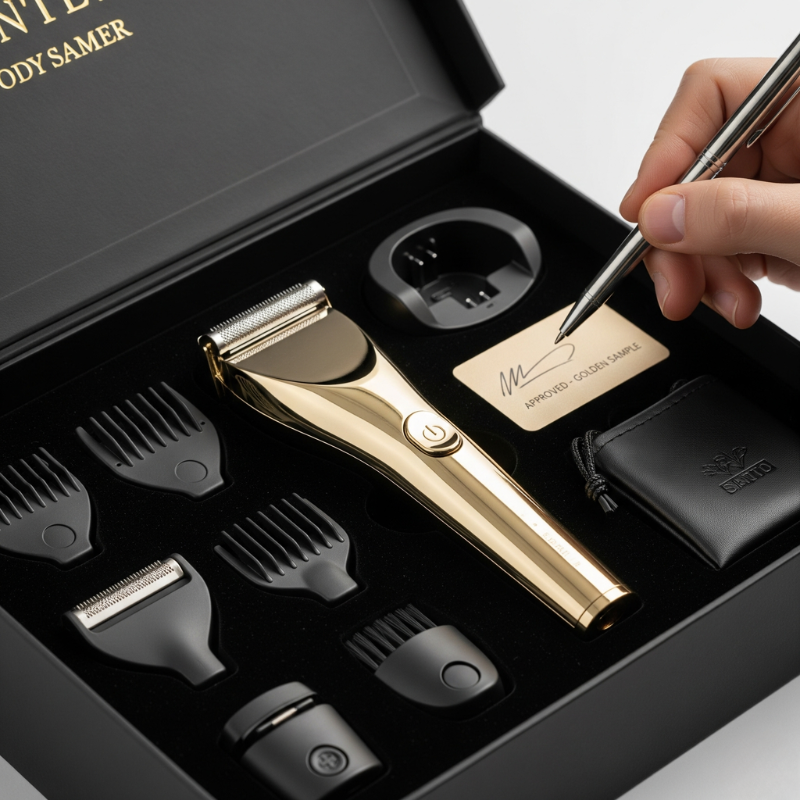
The Final Hurdle: Approving the Golden Sample
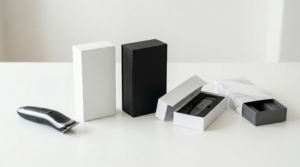
After the molds are made and the first units are assembled, you will receive the most important sample of the entire process. The golden sample is the one perfect, fully functional, and cosmetically flawless unit that represents the absolute standard for mass production.
- What It Is: The golden sample is a perfect product from the first off-tool run (often called a T1 sample). It includes the final product, made with the final materials and finishes, as well as the final retail packaging, accessories, and user manual.
- The Approval Process: This sample is sent to you for meticulous final approval. You will test every function and inspect every surface. Once you are 100% satisfied, you will literally sign and date the sample (or its tag). This signed sample is then sent back to the factory to be kept in a safe place.
- The B2B Insight: The golden sample is a critical contractual tool. It is the objective, physical benchmark against which all mass-produced units will be judged during future Quality Control inspections. It protects you from “quality fade” and protects the factory from subjective feedback. No mass production should ever begin until the golden sample is officially approved.
Conclusion: A Roadmap to a Successful Launch
The product prototyping process is a methodical journey from a simple visual model to a perfect, production-ready standard. Each of these prototyping stages serves a critical purpose: validating the design, de-risking the technology, and refining the manufacturing process.
Rushing or skipping any of these steps is a false economy that almost always leads to costly problems down the line. A thorough, patient, and collaborative prototyping process is the single best investment a brand can make to ensure a smooth, predictable, and ultimately successful product launch.